What's a QR Code and how do I create them for my Service Locations?
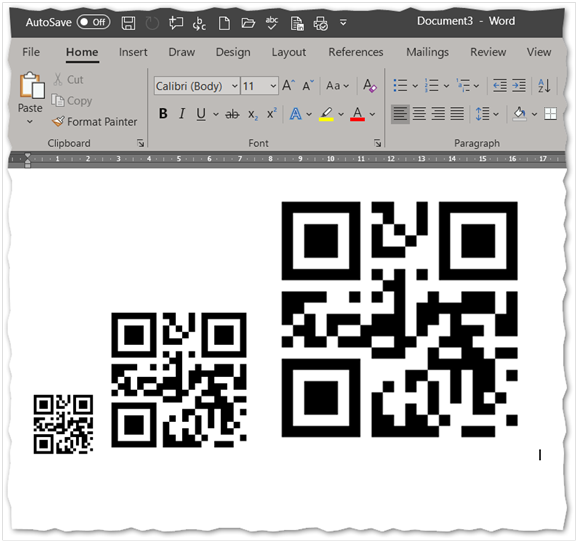
A QR (Quick Response) Code comprises black squares arranged in a square grid on a white background (as shown above). It can be described as a two-dimensional bar-code that contains data for a locator/identifier. This can be read by smartphone cameras using the correct scanning software. Our Employee App is one such example. When read, the app converts the code into usable data. Many companies use these to provide direct links to websites when marketing their products to customers – you’ll often see them on billboards, in magazines, or on product packaging. Within the Timegate environment, they are used to store the names of physical locations on Tours. A QR code can be placed on a wall and then scanned by employees using their smartphone whilst they make their way around the tour, as proof of presence.
When you set up your Location Details within Service (under Set Up | Sites | Locations), you can use opt to use either an NFC (RFID) tag or a QR Code at each of your locations to track tour progress.
![]()
For each location you create:
-
Select QR as the Tag Type
-
Enter a value for the specific Tag Code. In the example above, the Tag Code has been set to Reception1. You can choose any meaningful value. Be aware that this value is case sensitive.
-
Make a note of this value as you will need it to create the corresponding black and white square QR Code
-
Save the Location
-
Generate a black and white QR Code for your location based on the Tag Code. QR Codes can be generated from a variety of online sources, saved and printed out.
More details about configuring individual service locations can be found in How do I create and assign Locations to a site?
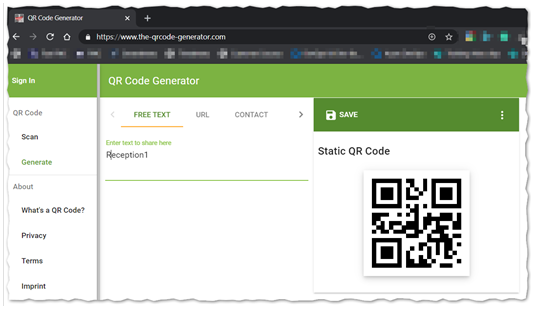
We have chosen to use the website www.the-qrcode-generator.com to create our code (in this instance for the word Reception1):
-
Open your web browser of choice (Chrome, Firefox, Edge.etc.)
-
In the area called Enter text to share here, type in the Tag Code (e.g. Reception1) – you will see the QR Code to the right of the screen change as it is being generated whilst you type
-
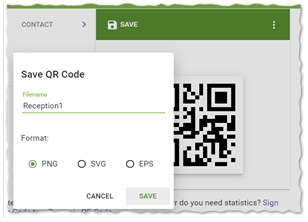
Once fully completed, select SAVE
-
Enter a Filename for the image file e.g. Reception1
-
Select a Format e.g. PNG
-
Select SAVE. The file will now be downloaded as an image file into your web browser’s download area
-
Once located, you can use the QR code image (in this case Reception1.png) in the same way that you would use any other image file. It can be inserted into a Word document for printing for example. It can be shrunk or enlarged (as shown). You can then print it out to place at your location, ready for employees to scan whilst they are on their tours