How do I build a Service Profile?
Service profiles are built in the Service Profile tab within the Administration | Service page as follows:
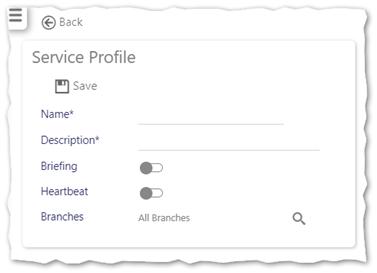
Select Add to create a new service profile. The following screen will be displayed:
-
Enter a Name and Description
-
Select whether the user is going to be presented with a Briefing to view when they go on their duty. By default this is not selected. A Briefing is a summary of all activities that have been recorded during the last twenty-four hours. It is automatically generated.
-
Select whether GPS coordinate collection is going to be undertaken using the Heartbeat function. By default this is not selected.
-
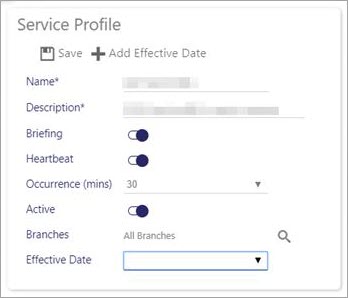
If Heartbeat is selected, the Occurrence (mins) value is displayed (see below) - select an appropriate occurrence in minutes for the GPS coordination collection to take place on a regular basis
-
Select the Branch that this is going to be allocated to using
-
Select Save. The screen will update as follows:
Legacy Timegate screen shot:
UpdatedTimegate screen shot:
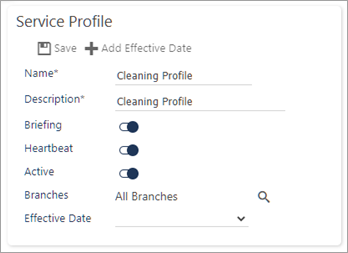
- Select Active (to ensure that the profile can be used in the live system environment)
- Select Save - the screen will be updated to include an Effective Date selection box
- Select Effective Date
- At this point the screen will expand as shown:
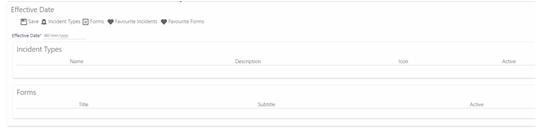
- Select which Incident type(s) and/or which Form(s) you wish to allocate to the Service Profile - do this by selecting
- Incident Types or Forms. Select your item of choice. This will generate the profile that will be displayed for the employee at the selected date. You can choose multiple items to add as Incident Types or (standalone) Forms
- Select Save (under Effective Date)
- You can add further Effective Dates and incident types and forms as necessary (Select Add Effective Date)
- Select Save (Main record level)