How do I manage documents that are used in the Employee Portal?
Managing documents in the Employee Portal is a two step process - firstly, you must create a series of Document Categories (and as appropriate subcategories). Once these have been set up, the document can be uploaded and assigned to a Category.
How do I create categories/subcategories?
-
Open the Document Categories screen (Admin | Engagement | Document Categories)
-
Select Add
-
Enter a Category Name
-
If you are setting up a subcategory, select the name of the Parent Category
-
Give the category a Description
-
Select whether you wish the category to be displayed on the Home Page, by selecting Display on Home Page
-
If you have chosen to Display on Home Page, an additional option is displayed called Title Icon. Select the Title Icon of choice from those shown on screen in the pop up menu. The icon will be used to create a graphic button that will be displayed on the homepage for the document
-
Select Active to make sure the category is visible, alternatively leave it clear so that it isn’t available within the Documents page when selecting where to categorise a document
-
Select Save to create the Category
How do I upload a document?
-
Open the Documents screen (Admin | Engagement | Documents)
-
Select Add
-
Enter a Name
-
Select a Category from the drop-down list determining where you wish to save the document
-
Select Featured if you wish for the document to be featured on the front page
-
Select an Audience if you wish to target it at a group, or certain groups of users
-
Enter Document Notes for the document
-
If you wish to audit when the document is opened by the recipients, select Audit Opened
-
Select Active to make sure the document is visible to your audience, alternatively leave it clear so that it is hidden
-
Select the Type of Document that you are uploading from the drop-down list
-
Choose the file you wish to upload - select Choose File (this opens the operating system’s file selection dialog box)
-
Choose the file
-
Select Open
-
Select Save
The document will now be uploaded!
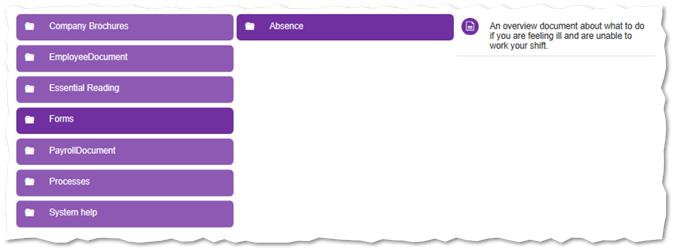
An example screen shot from the Employee Portal of an Illness related document stored in the Forms category, within the Absence sub-category is shown below: