Setup: Sites - Locations
How to get there: Set Up | Sites | Locations
From within this part of the system, Locations are created that can subsequently be used when developing tours in Set Up | Sites | Services. Locations for a tour can be logically stored in a hierarchy, for example by floor then by room for example. Within each location, proof of presence QR and NFC (RFID) tags can be defined along with GPS location coordinates. This enables effective tracking of the tour as it progresses. Notes pertaining to the location are also stored.
For related information, see: Admin | Service | Location Types and Set Up | Sites | Services
Note: This functionality is only available to those companies that license Service Delivery. If you would like to use this functionality, contact your TEAM Software representative for further information.
When setting up Locations on a site where none have been previously set up, the user is presented with the option to copy location content (and subsequently tour content) from another site or to create the location information manually. If they wish to copy the information from another site they are then prompted to choose which site from a site list and additionally whether they wish to copy the tour information, otherwise, they are prompted to set up the site manually. The details for both versions of the page are detailed below.
Screen Layout and Fields - Screen layout prior to Locations being configured
Screen Layout and Fields - Screen layout after initial Locations have been configured
|
Location Setup |
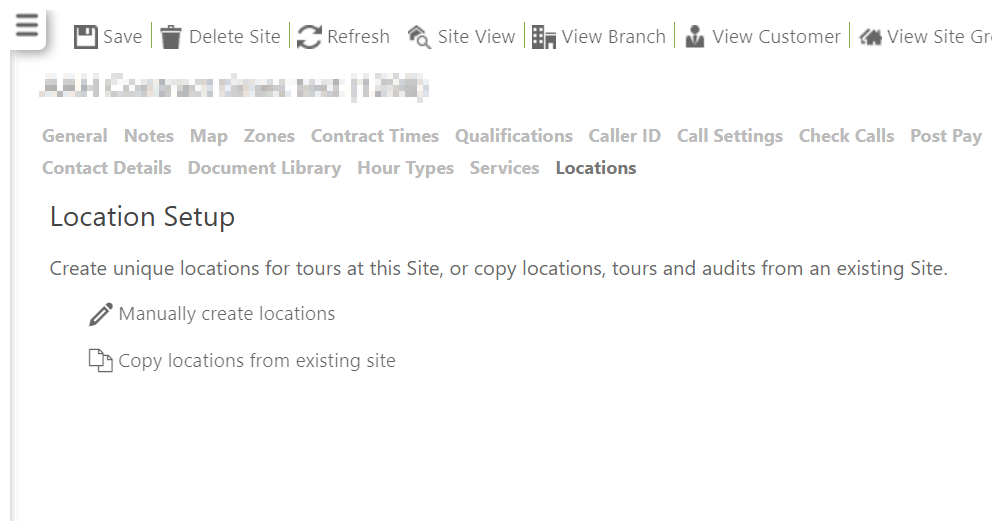
Loaded when the site service delivery features are configured for the first time. From here you can choose to manually load location information and revert to the second screen displayed above) or copy location/tours information (see Copying site details when location details are not configured below) |
|
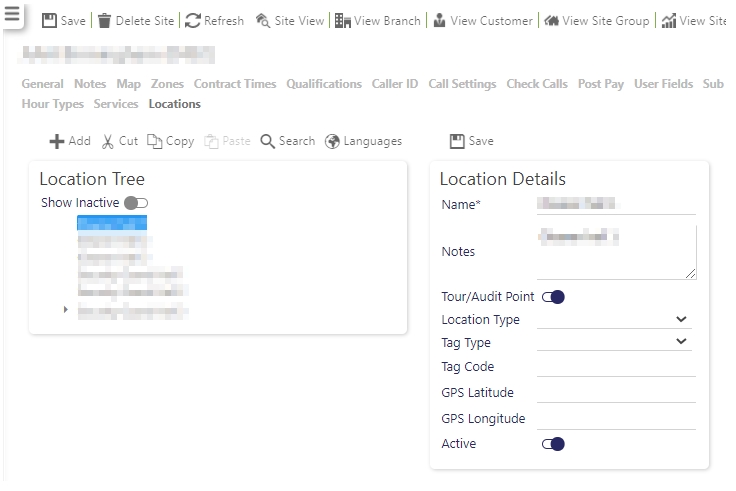
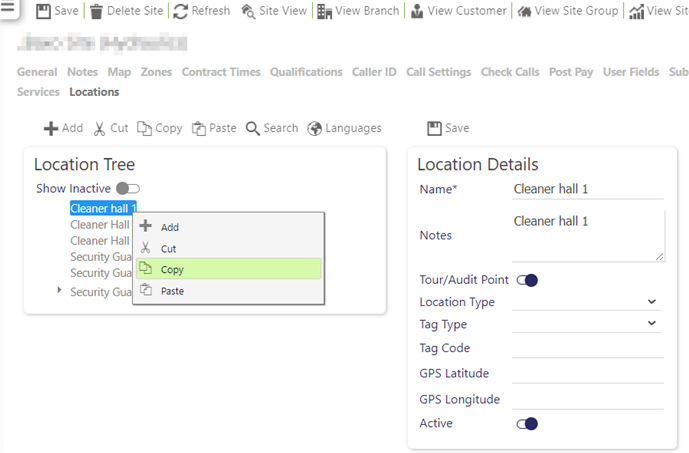
Location Tree |
The location tree lists the different locations that have been defined by location name |
|
Location Details |
Displayed when a location is selected/a new location is added |
|
Name |
Mandatory - enter a Name for the location |
|
Notes |
Mandatory - Add any relevant Notes to the location |
|
Tour/Audit Point |
The Tour/Audit Point slider indicates whether a Location is available to be used when setting up either tours or audits |
|
Location Type |
Mandatory - Select the Location Type. Location Type’s are defined |
|
Tag Type |
Tag Type is a list currently limited to either: NFC (RFID) or QR. These options may be increased in a future release |
|
Tag Code |
The code associated with the location (be that the RFID tag or a QR tag) |
|
GPS Latitude |
Enter the unique latitude for the location in this text box. Latitudes range from -90 to 90. for example 52.487875 |
|
GPS Longitude |
Enter the unique longitude for the location. Longitudes range from -180 to 180 in this text box. for example -2.114722 |
|
Active |
Locations can be either active or inactive. By default, this is set as active. Deselect to |
Screen Actions
|
Add |
To create a location, select Add, enter the Location Details and then select Save To create a sub-location, select the Parent location within the Location Tree (for example, in the screen shot above, Office Area A) before selecting Add. Locations can be expanded/contracted by pressing the arrows next to their names. Enter the Location Details and then select Save |
|
Cut |
Select a location or sub-location and select Cut to cut it to the clipboard, ready for pasting elsewhere within the location tree structure. In the example above, Office Area C has been selected (as shown highlighted in blue) ready to be cut. When an item is cut, it is moved from its original location to a new one when pasted. For further details about cut/copy/paste see Copying site details when location details have been previously configured below |
|
Copy |
Select a location or sub-location and select Copy to make a copy of it, ready to be pasted into a location or sub-location. For further details about cut/copy/paste see Copying site details when location details have been previously configured below |
|
Paste |
Select the target location or sub-location where you wish to cut or copy. Select Paste to complete the operation, be that copying or cutting it to the new location. For further details about cut/copy/paste see Copying site details when location details have been previously configured below |
|
Search |
Select to open the Location Search View as shown below: 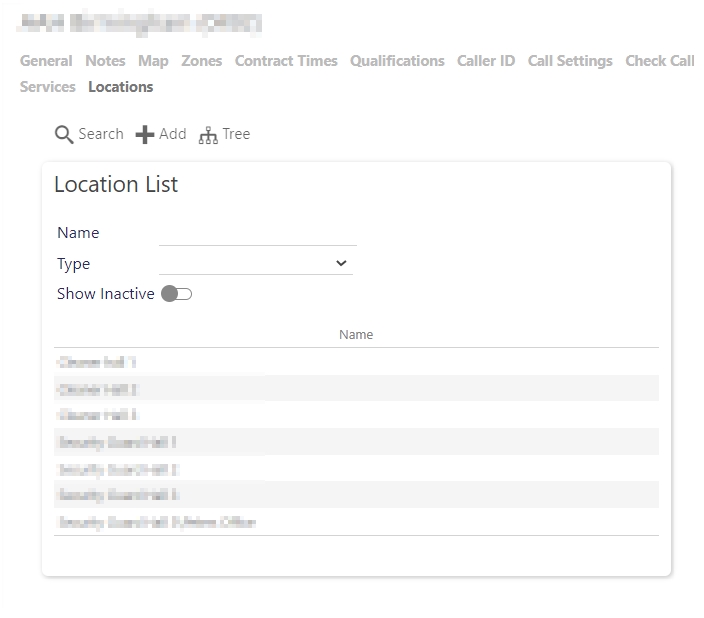
|
|
Show Inactive |
Toggle between active and all locations (i.e. active and inactive locations) |
|
Location |
Select a Location to see it’s details in the Location Details panel |
|
Save (Directly above Location Details) |
Save Location Details |
|
Save (above the site’s name) |
Select to save site changes |
|
Delete Site |
Select to delete the site from the system. A confirmation pop-up will be shown confirming the deletion which will remove all duties for the Site from the system |
|
Refresh |
Select to revert to the unsaved state |
|
Site View |
Select to open the Site View screen for the site |
|
View Branch |
Select to open the Branch screen for the site |
|
View Customer |
Select to open the Customer screen for the site |
|
View Site Group |
Select to open the Site Group screen for the site |
|
View Site Budget |
Select to open the Site Budget screen for the site |
|
Site Events |
Select to open the Events Search for the site |
Copying site details when location details are not configured
When setting up Locations on a site where none have been previously set up, the user is presented with the option to copy location content (and subsequently tour
To set up Locations for a Site using the new copy location and tours method:
-
Select Set Up | Sites | Locations for your site of choice. The following screen is displayed:
-
Select Copy locations from existing site. The following is displayed:
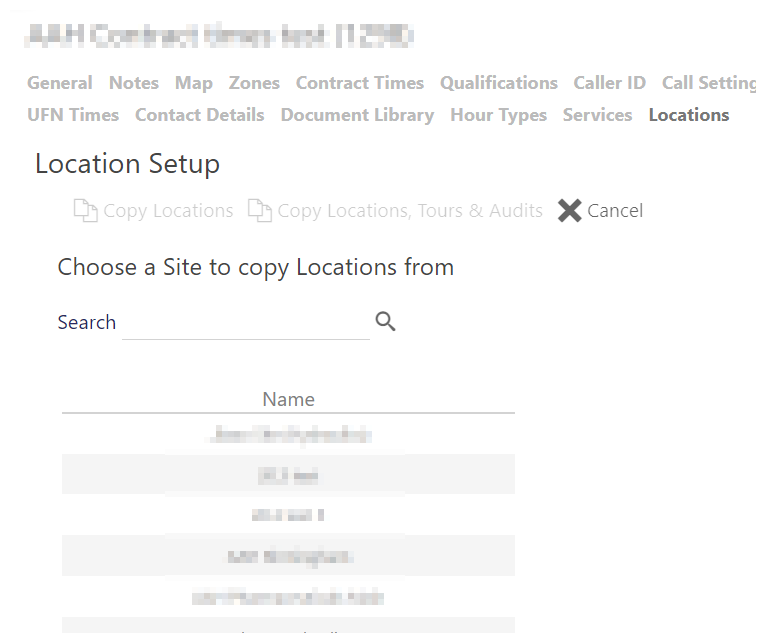
-
Select the Site to copy Locations from. The Location Tree, Tours and Audits (where configured) will be displayed:
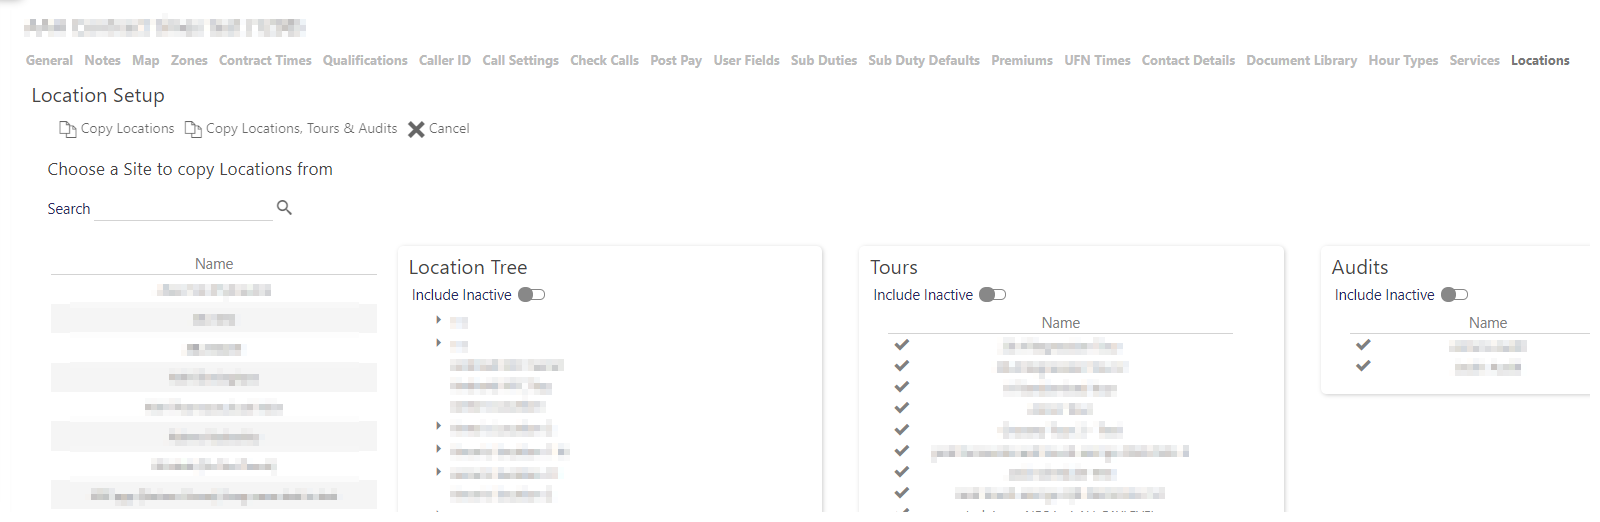
-
Select Copy Locations to only copy locations. Alternatively, choose the tours and/or audits that you wish to copy as well, then select Copy Tours & Audits.
-
A copy confirmation message is then displayed. Depending on your choice it will be titled either Copy Locations, or as shown in this example when also copying tours, Copy Locations & Tours
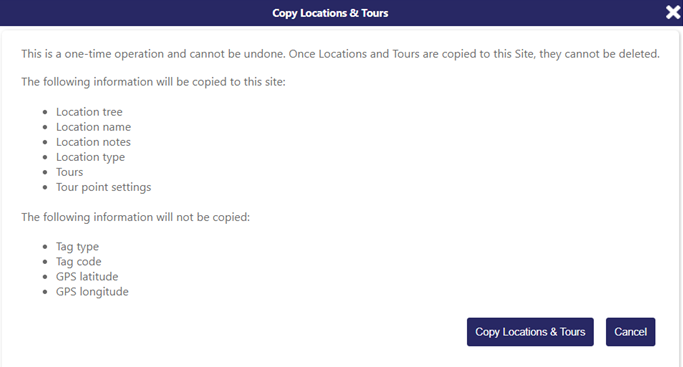
-
Select Copy Locations or Copy Locations & Tours (depending on what you’re copying). The following Copy Complete confirmation is displayed:
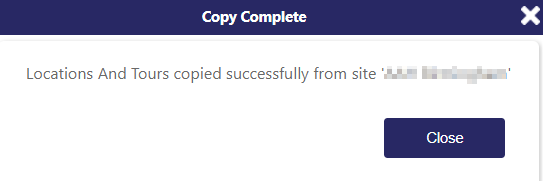
-
Select Close
If you selected Copy Locations, the new Locations are now displayed in the Set Up | Sites | Locations tab under the heading Location Tree.
If you selected Copy Locations & Tours, the new Locations are now displayed in the Set Up | Sites | Locations tab under the heading Location Tree. Additionally, the copied Tours are displayed in the Set Up | Sites | Services tab under the Tours heading
Copying site details when location details have been previously configured
If a site already has locations set up they will not have the option to copy site locations in teh same was as when the site is first confgiured. Instead, they are presented with Cut, Copy and Paste buttons on the Set Up | Sites | Locations tab menu. The options are also found in the right-hand mouse button menu when selecting a location. These can be used to cut/copy locations from one site to another. To do this:
-
Select Set Up | Sites | Locations for the site you wish to copy information from:
-
Select the location you wish to cut/copy:
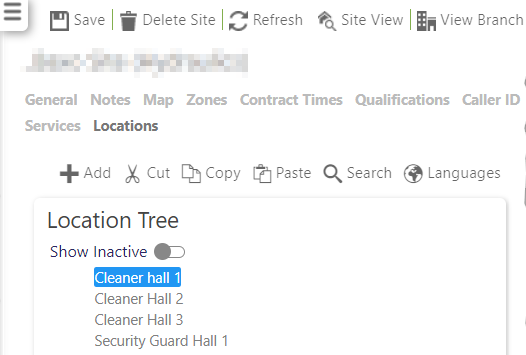
-
Select either Cut or Copy from the menu (or using the right-click menu). This will cut/copy the location of choice to the clipboard:
-
Open the site that you wish to paste the information into
-
When loaded, select Paste. The following is displayed
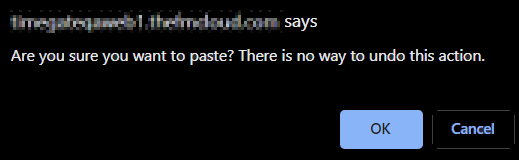
-
Select OK to continue
-
The location will now be pasted into the site