Service: Service Profiles
How to get there: Admin | Service | Service Profiles
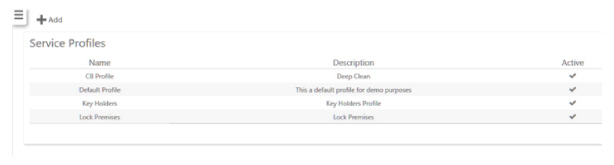
From this page, service profiles can be viewed and defined ready for assigning to sites. Both Incident Types and Forms can be associated with the profiles.
For related information, also see: Admin | Service | Incident Types, Set Up | Sites | Services and Admin | Forms | Service Forms
Screen Layout and Fields
|
Name |
Name of the service profile
|
|
Description |
Description of the service profile
|
|
Active |
Select Active to make the service profile available. be aware that service profiles cannot be deleted from within the Web Client. Instead, should the user not wish to use a given service type, they should ensure that Active is not ticked
|
Screen Actions
|
Select Service Profile |
Select the profile to view and edit it’s details |
|
Add |
Select Add to create a new service profile. The following screen will be displayed: 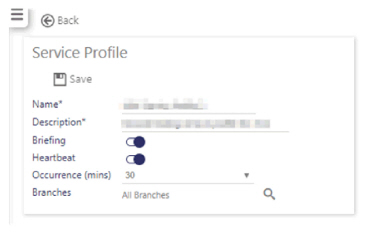
Enter a Name and Description Select whether the user is going to be presented with a Briefing to view when they go on their duty. By default this is not selected. A Briefing is a summary of all activities that have been recorded during the last twenty-four hours. 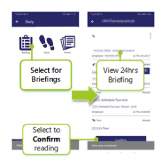
Select whether GPS coordinate collection is going to be undertaken using the Heartbeat function. By default this is not selected. If enabled, GPS coordinate collection takes place on a regular basis as configured using Occurrence (mins). If Heartbeat is selected, the Occurrence (mins) value is displayed - select an appropriate occurrence in minutes for the GPS coordination collection to take place (in the example above it will take place every thirty minutes). |
| Branches |
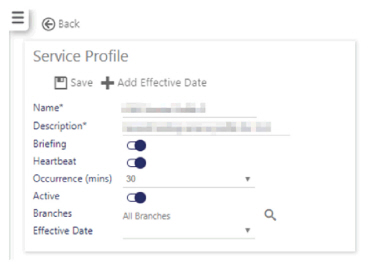
Select the Branch that this is going to be allocated to using. Select Save. The screen will update as follows:
|
|
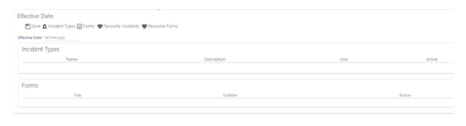
Effective Date |
Select the Effective Dates and their associated incident types from this drop-down list |